
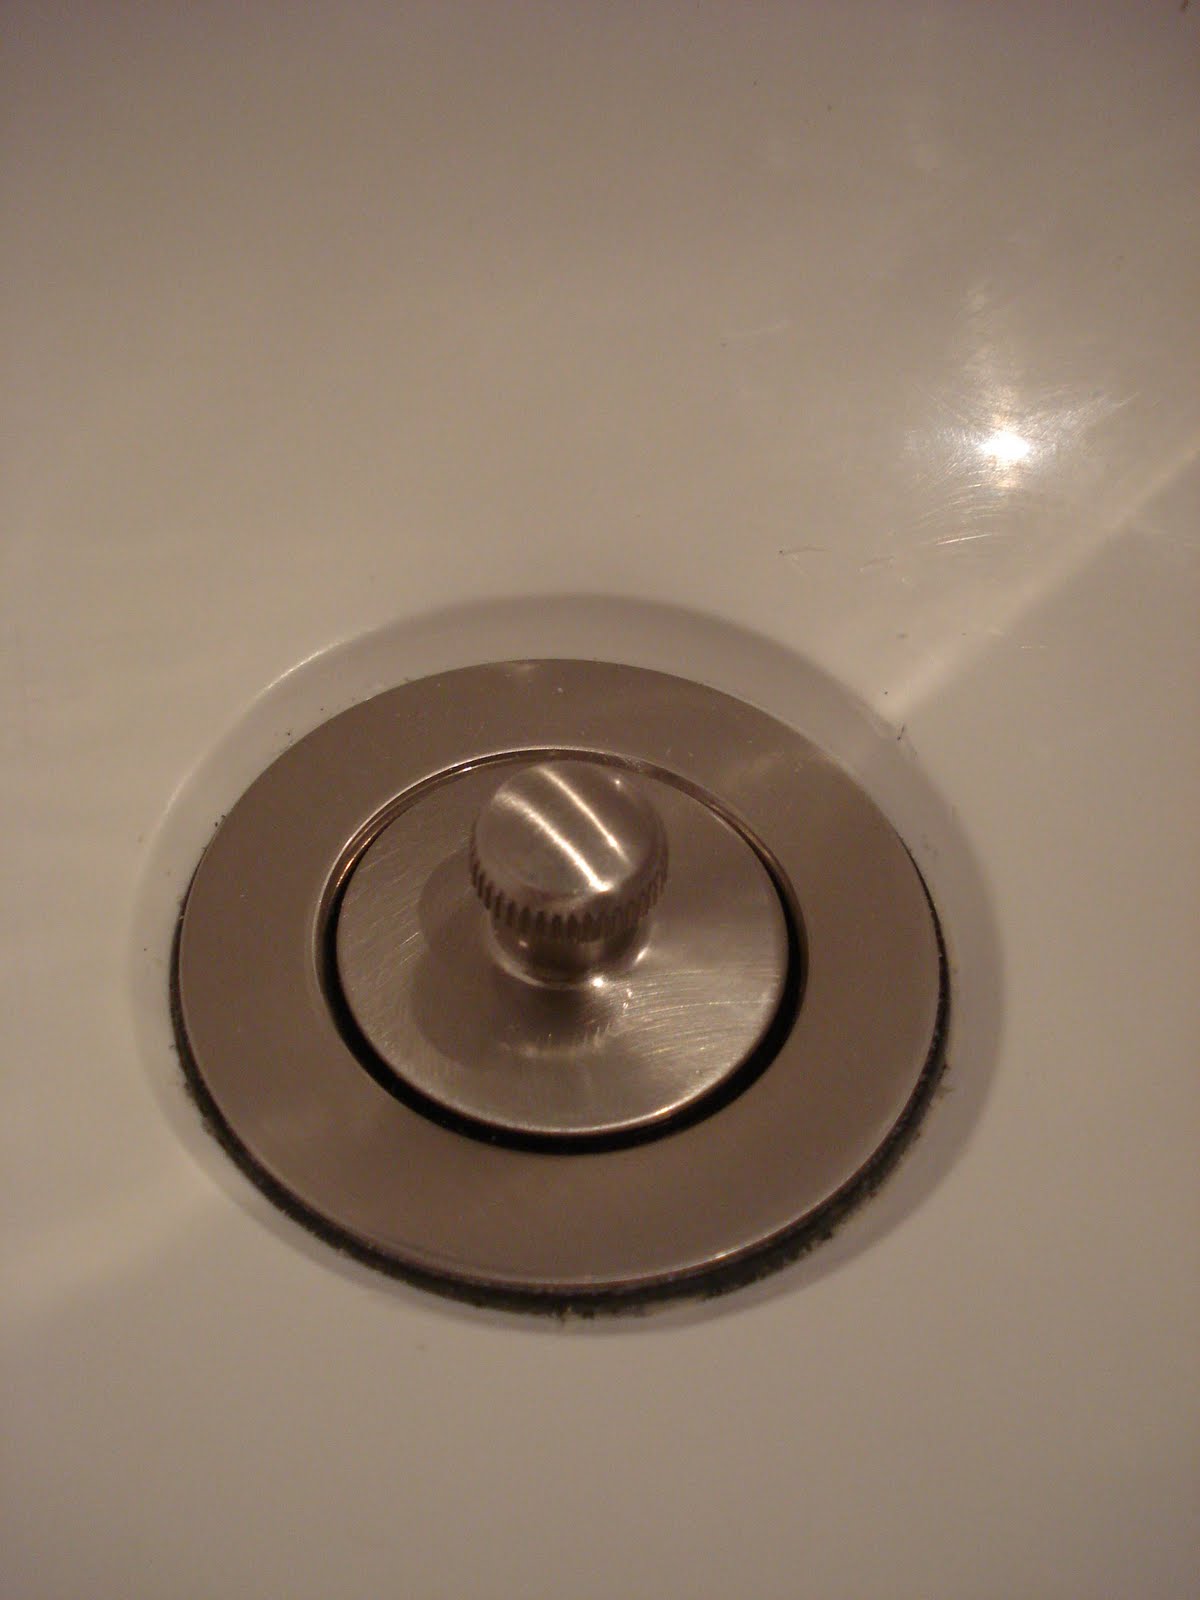
 I wanted to post about this DIY project because I had a hard time finding the information I needed to learn how to remove and replace an old broken tub drain . As you can see I did it , here is my fresh new brushed nickle tub drain , it is the twist and pull style.
 Here is the old drain , broken and with a large chunk missing from the rim which recently began to leak, which it turns out was a hidden defect that our builder or the plumber who installed it hid, it was hidden under a little lump of caulking and it just slowly over time corroded away after some really good scrubbing.
I didn't want it to start leaking into the floor and in turn to our dining room ceiling , so I figure I could replace it , right ...although this really intimidated me I went on to find out if I could , sure I could all I would need it a new drain and over flow package. But how the heck do I remove the old drain .
 $27.00 for this brushed nickle finished set , I want to slowly replace all the shower component with brushed nickle.
 I also needed plumbers putty .
 Look I did it I got the drain out , it was easy right , NO it was not easy at all , I tried with pliers , no avail ,the inside cross bars were very corroded and they broke under very little pressure, what I needed was a DRAIN KEY , don't worry it is not expensive. It is just two pics down , you place it in the drain and use a screw driver in the holes of the drain key and turn it counter clockwise , I asked my husband to do this I didn't have the strength , easily enough it did start to budge , it is simply screwed into the pipe below.
 After removing any residue of silicone , by scraping , scrubbing with rubbing alcohol and using a magic eraser it was time for the putty , roll the putty in your hands to create a snake of putty and place around the opening , this will create a water tight seal.
Place the drain into the hole , {remove the plug part first , there is a small screw to loosen and it simply lifts right off }, place the drain in with the drain key inside and slowly start to screw it into the pipe , removing the excess putty as you go , use your screw driver to completely tighten the drain into place and then replace the plug and tighten the screw , that is it folks , you too can install a fresh new tub drain .

This drain is a Moen and it is from Home Depot.
 This is such a pretty over flow cover , so shiny and new.

I am glad I gave this DIY a try, I am convinced I saved us at least $100.00 in labour and the parts including the tool came to just $55.00 and now I have learned something new and we have a nice new leak free drain .
No comments:
Post a Comment