


I finally took the plunge and tackled some uncharted territory...DIYing dutch door.
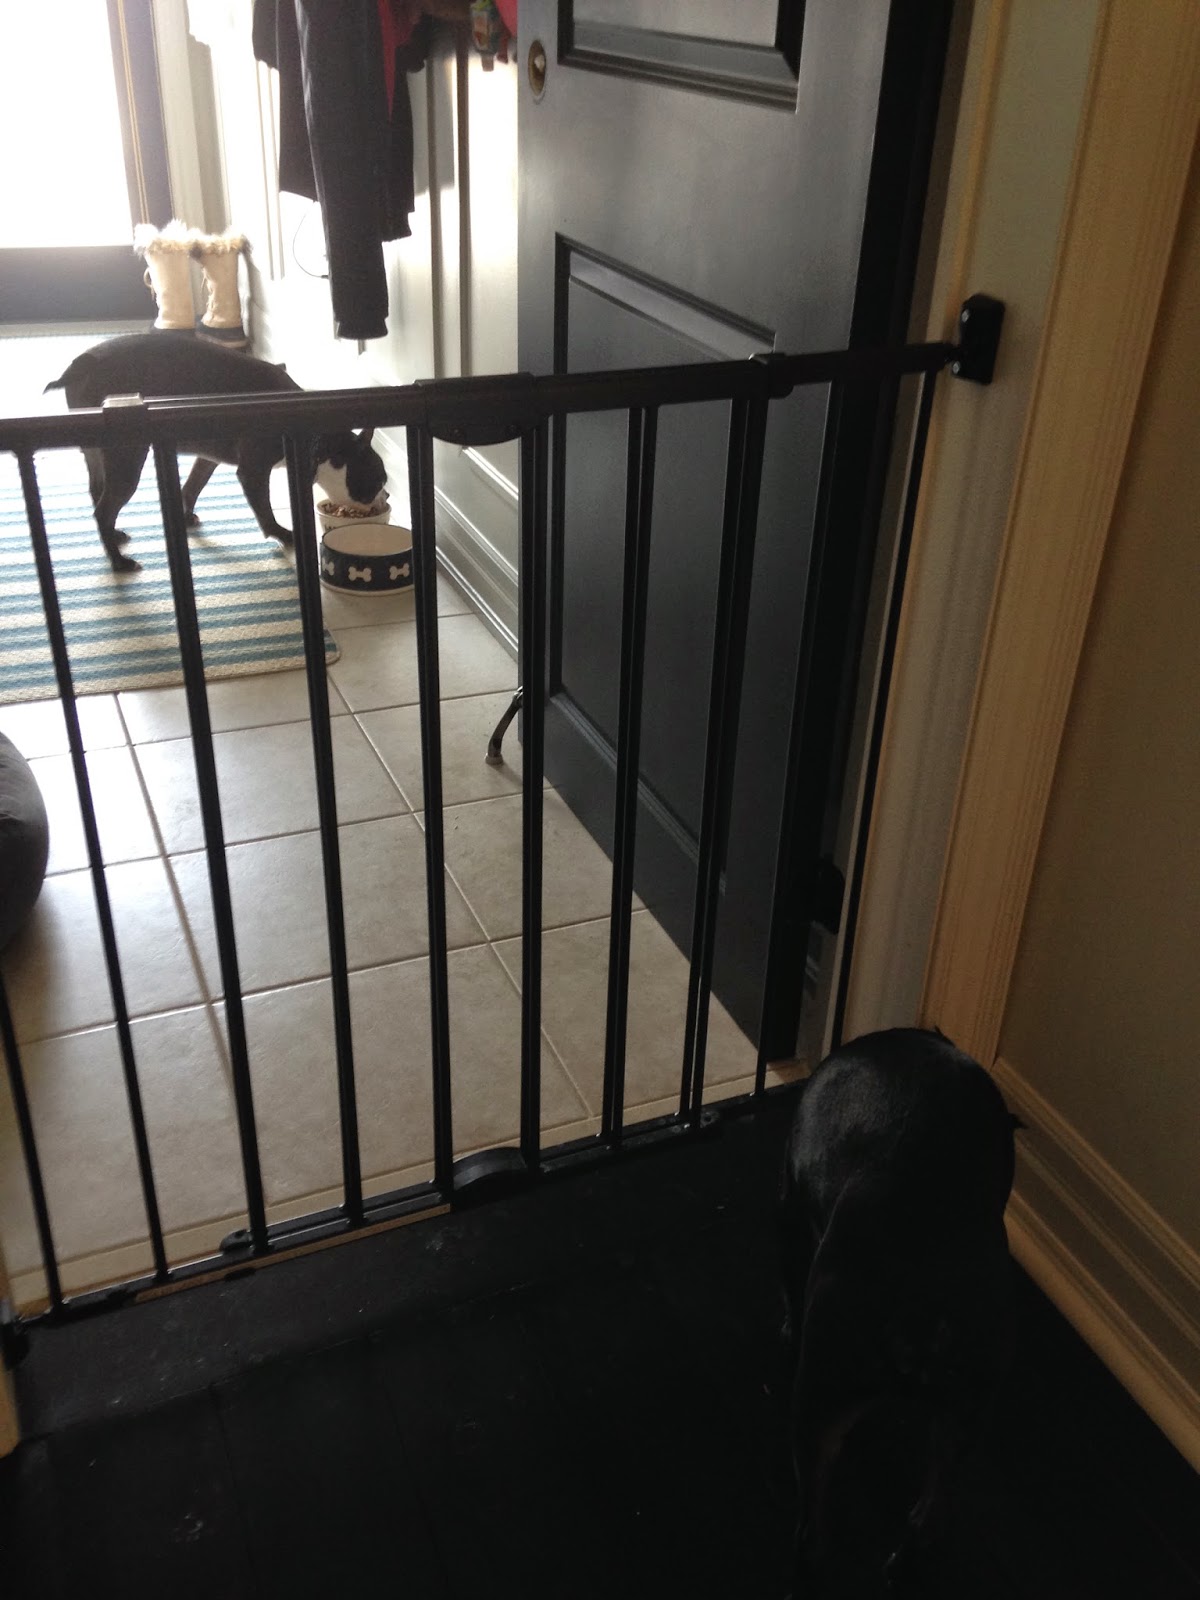
We have always wanted a dutch door just because they are charming, but it became obvious that a dutch door would be the perfect solution for our laundry room. We need to separate our dogs during feedings and we have been using a gate for a little over a year and it worked but the gate was always in the way...being beside a door we would have to actually tie the gate to the door knob which was less than ideal.
I had had enough with the gate being in the way so I listed the gate for sale so that I would have to make the existing door into a Dutch door, it sold within the day and then I was off tackling this DIY project.


Clearly the dutch door is so much better than this gate solution.
Having a dutch door will allow us to keep the dogs in or out and will not block the light from making it's way into the house, I am all about the light.

Before you take the door down to cut it make sure you mark where the new hinge(s) will go on the bottom section of the door. Our door had three hinges because it is 8 ft tall but for 7ft doors you may only have two hinges so you will have to add 2 more hinges, you will want to mark those out with pencil on the door and jam while it is still hanging and then notch those out while the door is down.


I picked up a piece of 1x3" pine board to use as the ledge to sit on top of the bottom door section.
It needs to be the same width as the door...I cut off the side that is near the knob on a bit of an angle and sanded the whole piece until it was nice and smooth. I glued and nailed it to the top of the bottom door and caulked under the wood where it meets the door.

The 1x3"
After the ledge was installed I then filled in the hole where the door knob was with this bronze metal plate, I glued it in place and drilled new holes for the knob to be installed below the ledge and re-installed the strike plate lower on the door jam which left me with a big hole to fill which I did with spackle. No big deal.


I will admit I had a little issue or trouble when we re-installed the upper door, it wasn't sitting square and in fact it wouldn't close, so I added a third hinge to the upper door thinking it would help but it turned out the top hinge which I didn't install was off. I had to notch more material out to bring the hinge closer to the door stop to straighten out the door...but then my screw holes were all wrong. I took some sawdust and wood glue and mixed it together and filled all the hinge screw holes on the jam with this mixture and let it dry overnight and it worked perfectly to allow me to then drill the new holes I needed for the hinges and the second time we installed the upper door section it worked perfectly. Happiness.

One more last detail I didn't think of, how do you keep the upper part from swinging out into the room and stop it from hitting the wall behind the door??? I honestly couldn't come up with anything until brain storming with an associate at Home Depot we were both stumped....but then on my final visual scan of the hardware lock section and I saw it....this magnetic door stop...that is it...the solution.


So there we have it...I gave it a try and lucky for me it turned out fabulously....I can't express how happy I/we are with this new/old door... Let's hear it for Dutch Doors.
Cost around $30...
Who is with me...who is making a dutch door this weeked?
2 comments:
Excellent tutorial. I have a dutch door that I made a couple of years ago and now am going to modify, using some of your tips. Thanks!
that's awesome Marti...I wish I had a spot for a dutch door here
Post a Comment