Saturday, December 23, 2017

White Wood Workshops...in the GTA


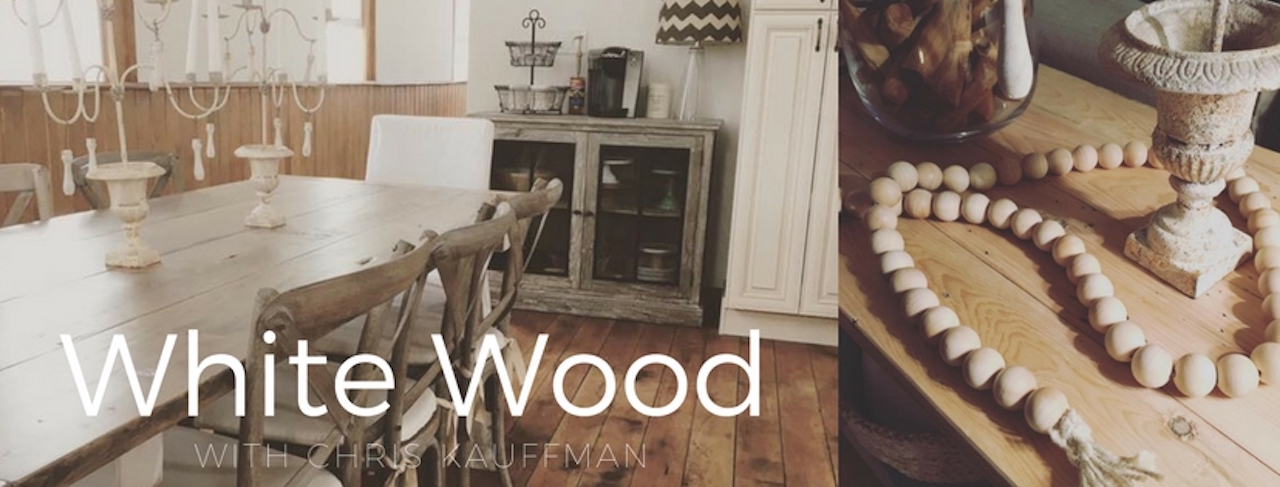
I haven't shared much about a big part of my life...my White Wood Workshops...
since I started this blog in 2007 I have been asked to share or to teach building and DIY, I think it is in my nature to share...share new finds, new skills and my passion for DIY...that is why I started a blog way back when... it was to share my projects with others to inspire others to try diy projects and just for community...I guess not a lot has changed...

After being literally asked for years I had the opportunity to start planning workshops for a local shop, that didn't work out but I did co-found a workshop brand with another local builder but we decided to go our separate ways and do our own thing, it was for the best...we just had different visions for the workshops moving forward...I think I was certainly meant to be doing my own White Wood Workshops as a secondary aspect of my White Wood Studio business...I always wanted to keep an open mind to how white wood would evolve...I just want to create and now creating with others just fills me up in the best way.


 I was searching for a one of a kind project...that is hard to come up with these days with Pinterest and all... it seems like everything has been dreamt up already...but when I look for inspiration I am hoping seeing others projects will inspire something new....I want to create useful beautiful things....
I have had a metal breadbox and I love it but it never held enough bread...so I decided it was a perfect workshop project...and it was.
 Ryobi power tools has supplied White Wood workshops with more tools than I could have dreamt of and it makes the workshop experience a dream...I want to keep the workshops quite small under 10 to give that real hands on experience, I want everyone to have access to all the tools to make the process fun and educational.

Some people wonder why they would want to pay to attend a workshop instead of just doing it on their own, it will obviously cost less....yes that is true....what I provide is the instruction, the tools, the space and the materials...and I take the work out of DIY....I give you everything to make each project a success and you can leave the mess with me...I do the shopping, I do all the prep and all you need to do is show up and and have fun...


So bring your friends, come alone and even bring your spouse...everyone is welcome...

                     Custom farmhouse clocks are the most popular, they are so fun to customize...


How lucky am I to meet great passionate people right here at my home...lucky

I feel so blessed to be able to open my home to new people eager to learn and flex their creative and DIY muscles...


Thank you Ryobi Canada for helping us bring DIY to the masses...

This is a sponsored post, Ryobi provided me with the tools but I have been a fan for years and years..Ryobi is and will remain my go to brand for cordless power tools

Monday, December 11, 2017

My DIY kitchen island round up

 I have completed the kitchen island makeover...it feels so good to check this off my list...I love this blue grey that tends towards teal sometimes throughout the day...it is huronia by Para...in melamine.


I seem to need an island in my kitchen..it just feels right, I am highly partial to a counter height island...it is most practical...but this one just wasn't my style. I knew I wanted to remove the extra cabinet door details and add ship lap and most importantly I wanted to add a furniture foot detail. 

the top of the island was built from the pews that were in the church...it was a very strong tone of orange...I am not at all partial to orange tones so I tried to re stain it but it didn't take well...it happens...so I flipped it over to the rustic side and I was able to stain it this grey brown stain...it is a mix of four stains and I am sorry I don't recall the particular mix. 

I love all the changes to the island and it really seems to update the whole look of the kitchen


it was simple enough to add v-groove ship lap style wood to this one side of the island.

I added easy to make furniture foot details to the base to give it a nice designer look


 it is a different kitchen isn't it? we really made very few changes but you can see just how much small changes can make a big difference


this is the island from our third house, the standard island consisted of two base cabinets and that seemed really tiny to me and I needed somewhere for the microwave so I expanded the island to house the microwave...

I made the functional and decorative modifications then I had an electrician come in and wire the island with power...I wanted an outlet so that I could bake at the island and plug in my stand and hand mixers.

I added bead board and stair posts to the island to add a large butcher block top

                                    this simple box cabinet was easy to create from plywood
paint always brings it all together
 this photo was taken on our walk through just prior to closing...this kitchen was nice and big but lacked any style and had no flooring...the flooring came after we moved in....that was fun... life of a diyer


this island is the first island I built, well the only one I ever built from scratch...it was one of my biggest and my first diy projects, I'm sorry I have no build deails on this
 this is how it looked when we sold the house, a soft blue, clad in bead board and with a solid oak butcher block top

so whether you want an island or want to update a current island, it is a pretty doable project even for the most novice diy builder...

do you need an island in your kitchen too...?


Tuesday, November 21, 2017

Creating a magical look for Christmas...

I somehow managed to get my husband Todd on board to string up patio lights in our great room...I had a vision and although I had my doubts I figured it was worth a shot...we had three strings of lights from outside but we knew we needed one more...which was fine because we wanted more lights outside next summer...I found some through amazon I have added a link below...*this post does contain affiliate links...I am an avid amazon shopper so I thought this was a perfect fit for me....


There was some major controversy in the house when I proposed adding a tree above the cabinets....now I do not like to decorate above cabinets normally...but Christmas is the time to break the rules and to go over the top...and we love the look...I just need to add the Christmas tree sign I made...


This Christmas sack was a huge hit at our house tour last year...
                                                                     

check out our last years Holiday house tour I did just before we moved 


I have had these knit stockings for almost 20 years...look at these...I think I might need a few new ones...


I thought this Christmas pillow was such a nice touch...I found it at Winners recently but here are a few other options I found that are easily available...I have purchased pillow covers through amazon before...check if these are only covers before buying...I swear by Ikea feather inserts.


I had to take home this little church decor piece last year...I mean I live in a church right...

With the vaulted ceilings I just knew this would create such a magical effect...it will be perfect for the upcoming White Wood Winter Market on Dec 2nd and 3rd 2017 

The string lights are commercial style heavy duty outdoor lights...we re purposed our outdoor lights but we needed more so I ordered 48' more from amazon...these are the ones we ordered and we were very happy with them, they are the same quality as the ones I bought earlier and paid much more for.


We had to figure out how to hang these lights...so I dug out these wheels that were part of the windows previously...

I gave them a good soak in the crock pot in water dish soap and a couple splashes of vinegar...then I scrubbed them with a small wire brush and they looked like new.


I made this simple sign to add above the cabinets....now how do I get this up there....

I have always loved flocked trees and this year when I cooked up the crazy idea to put a tree above the kitchen cabinets I always envisioned a small flocked tree...I found a 5ft tree locally and decided to use just the top two sections and it worked perfectly...I used some of the extra branches to fill my table boxes...
I think that flocked trees are all the rage...they are so whimsical...and I think they need far less dressing to make them look stunning...I left mine simple and unadorned...
here are a few good options from amazon ...I have seen them done in groups of two and they look magical...I wish I had room for more.


For this year I decided to try the galvanized bucket in place of the tree skirt...and I love it...it is the perfect farmhouse touch...I picked up mine at the local hardware store...see how I use it in the summer in this POST about our completed backyard project from our last house 


I made this tag garland by simple stringing together burlap tags I found and stamping them with 1-25 alternating black paint and rose gold paint...I used twine to string them...this was a fun and super simple diy project.
                                                                   

It feels good to be ready from Christmas now...thanks for stopping by...