

I needed 7 doors for the current dining room buffet project I am working on...I am trying to keep on a tight budget and having doors made for me would have cost about $35-40 a door which is pretty good but I thought if I could save $$ on the doors I could put that towards the marble peice I want for the middle section of the buffet. $280 plus tx for custom doors or $70 for DIY doors....it was a no brainer. (don't worry I did swap out the plywood in the last door to match the grain of the others)
I promise it's easy...
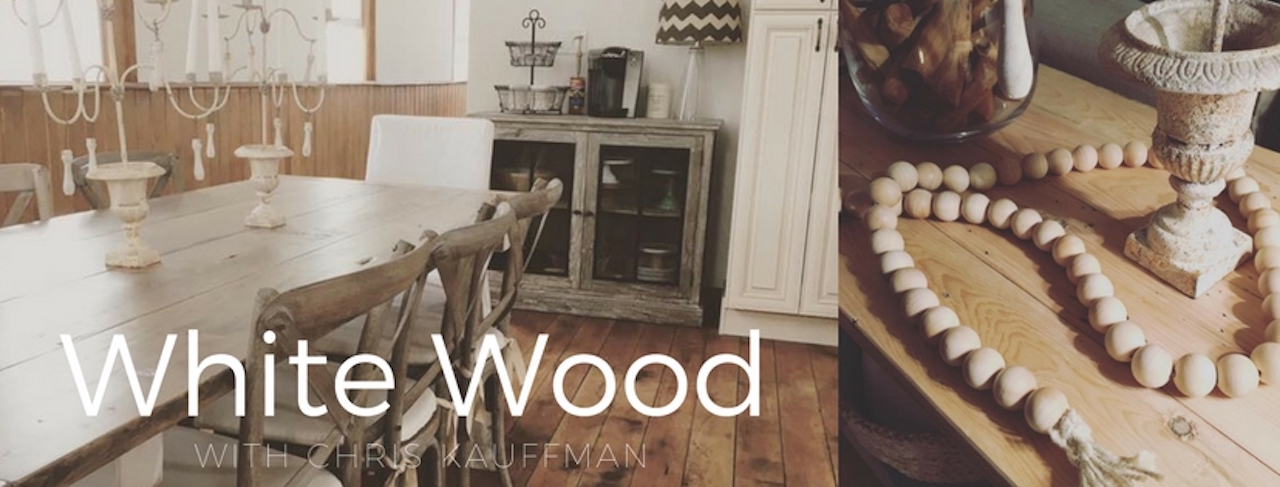
How I keep it really easy is by using unfinished pine flooring which is available at most lumber stores at under $1 a linear foot.
Tools & supplies you will need:
miter saw
pocket hole jig
clamps
table saw
drill
orbital sander
1/4" plywood
pine flooring wider than 3" I used 5"
1 1/4" kreg screws
Step one, using a table saw you will need to rip off the tongue of the wood flooring , I chose to make my rails and stiles 2 1/2" wide
Step two, miter your top and bottom pieces to the desired size. Make sure to sand the grove side of your wood.

Step three, drill your pocket holes onto the back side of the stiles.


Step four, you will need to cut the plywood or bead board if you choose to just slightly larger than the opening, 5/16"-6/16" is good (just over a 1/4")
Step five, using a clamp to hold your miter together attach the stiles to one rail then slide in the plywood and then attach the bottom rail. You don't need to glue the joints as the screws will hold the corners well enough. The center panel will just sit in the groove and can expand and contract freely.

Step six, starting with 80 grit of sand paper sand all the joints flush and smooth I then followed with 150 grit for all the edges and front and back of the frames then a final sanding of 220 which left it perfectly smooth and ready for priming and painting. I then decided after all the sanding to fill the pocket holes followed by another final sanding, the pocket hole plugs I thought I would use were actually micro pocket hole plugs so I went with filler instead. I know a little backwards....I hook up my orbital sander to my wet dry vac for all my sanding.. if you can you should do this and wear ear protection, eye protection and most importantly a mask. Of course you can use pocket hole plugs and glue them in place let them dry and then sand them flush or use a japanese flush saw to cut off any excess followed by sanding.


Please feel free to share and PIN and if you have any questions please feel free to ask me.
Please let me know if you use this tutorial I'd love to see what you have done.

6 comments:
Did the knots in the pine stiles & rails bleed through when you painted the doors?
I did prime with a shelca based primer to prevent that
What kind of hinges did you use?
I use non mortise bi-fold hinges
How did you attach the 1/4 panel to the framing?
Kevin Yang, i used a nail gun
Post a Comment