I recently wanted to get a second vacuum, I mean I love my Dyson but it is heavy for me to carry up and down the stairs especially since my ankle sprains so I looked for a cordless vacuum. I tried one for just over a year but it didn't stand up nor could it replace my Dyson so I started to research other options. I really wanted another Dyson but I found a Hoover Air cordless vacuum that had really long battery power and it seemed to have the features I was looking for. I wanted this new vacuum for our main floor that is mostly wood floors. I found the Hoover Air cordless at Lowes for a really great price about $200 less than the Dyson so I figured it was worth a try so I bought it. So far so good but I still wonder how I would like the Dyson cordless stick vac.
There was more than enough room for the new smaller vacuum in the main floor pantry closet as it was, but I had to make space in the upstairs linen closet to keep the Dyson because there was no way to fit it in there.
Truthfully my linen closet was a massive mess, so many unused linens and things I didn't even know were in there. I was ruthless and cleaned it out. Somehow I can keep the rest of the house tidy but give me a closet and it will be a mess.
Notice my sad 20 year old ironing board...don't you like the blue paint tape floor protection DIY...so sad. I went into Target and found a nicer newer ironing board, it was about time.
Looking better with some flooring these things take time... to be truthful I still need to do a sanding and another top coat up here...I sure am dragging my feet.
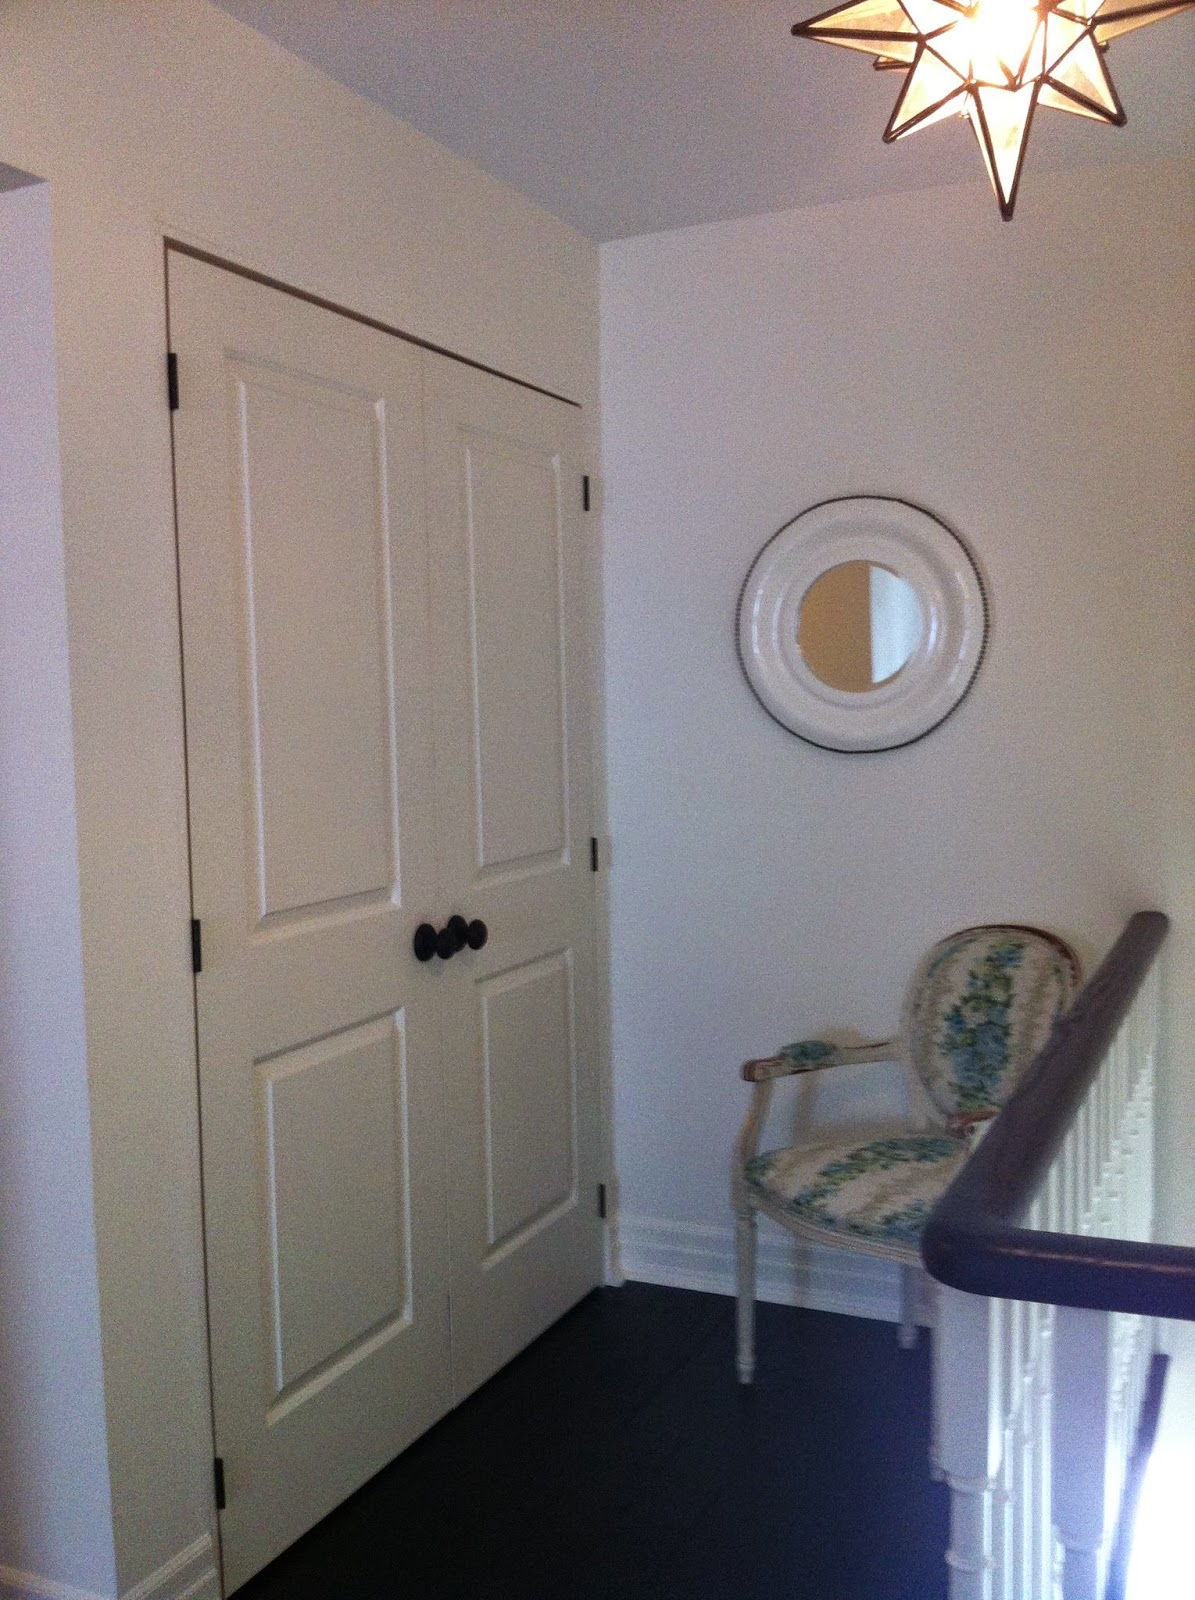
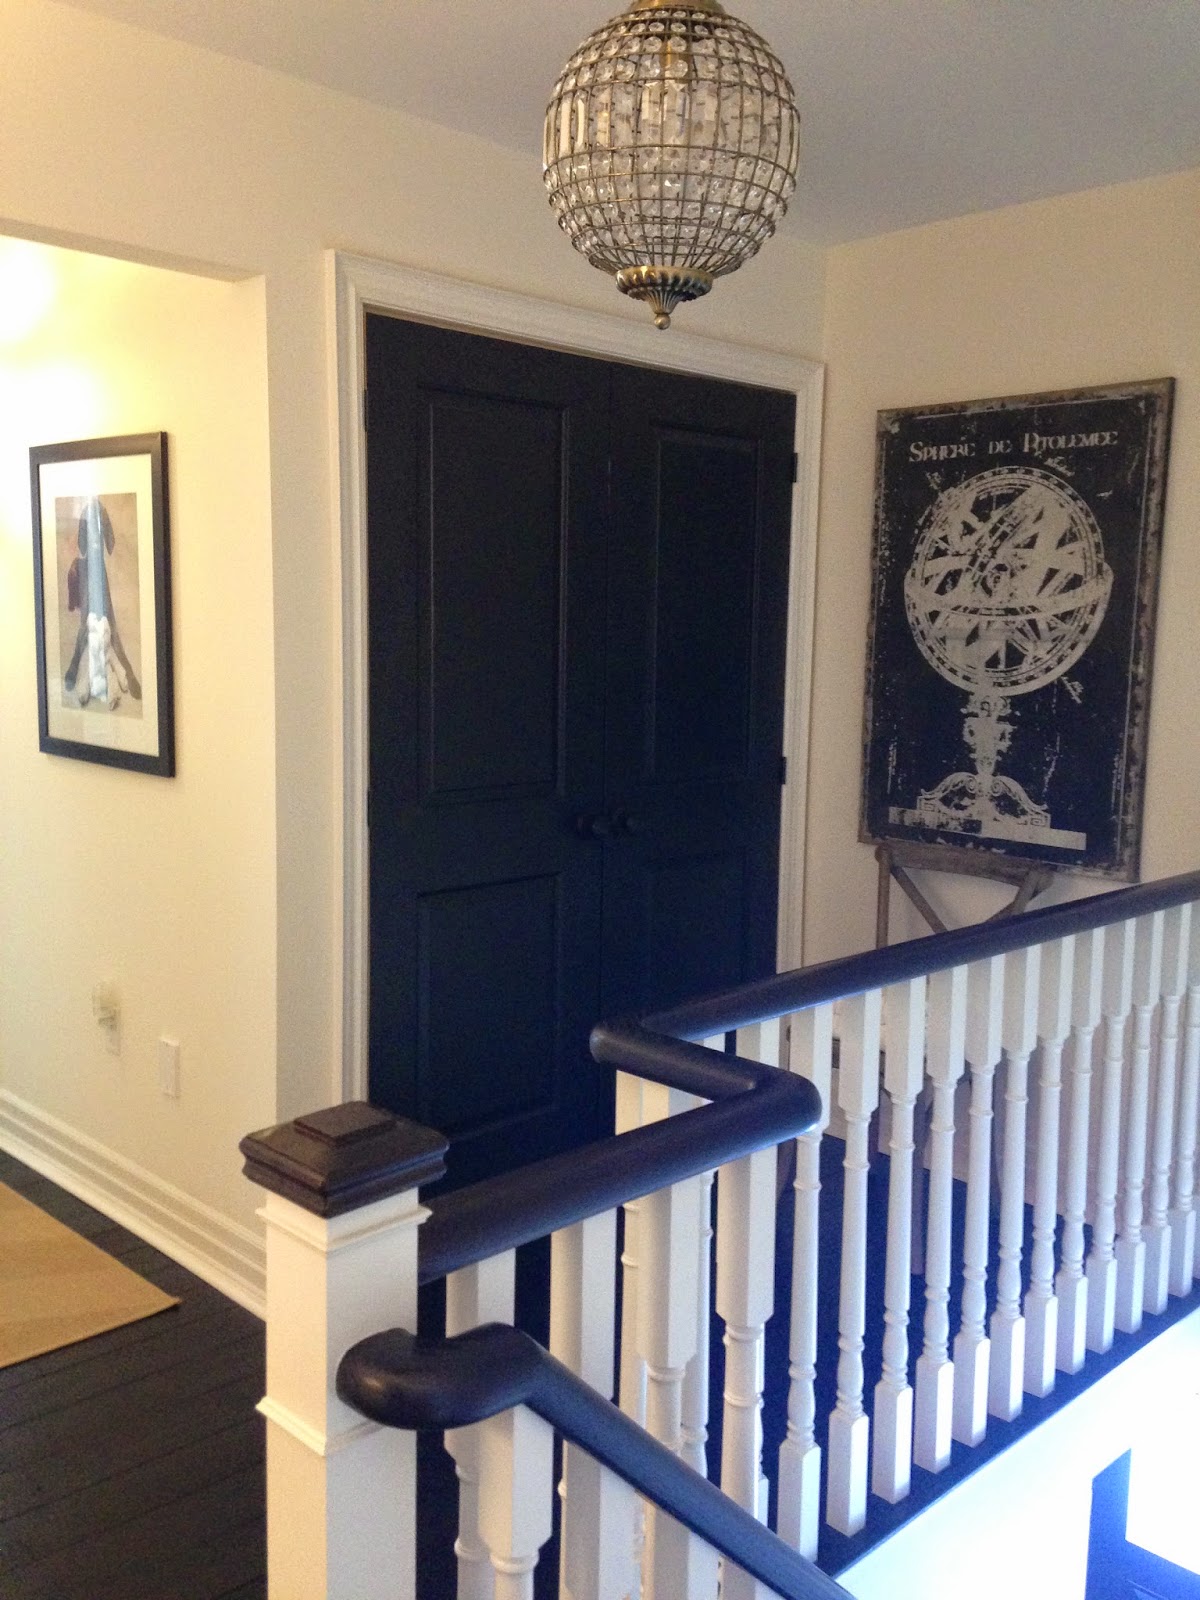
Stained floors, finished railings. I think adding doors to this closet was going to be $300 through the builder and as a DIY project it was only $100 with hardware and trim. Stay tuned because in the spring I have plans for that little hallway that leads to my kids rooms.So much prettier, in fact I love this upstairs hall.
Here is how I adjusted/customized the closet to fit our Dyson.
I trimmed down the shelves and added this end piece with pocket holes, this was made so easy with those corner clamps I simply used a multi saw to trim off the excess shelf braces and filled all the damage.
I thought it was worth switching out the metal brackets to these nice Ikea brackets I actually had laying around. The metal ones were functional but adding pretty brackets is an easy way to up the design appeal.
I edged all the shelves with cheap pine, this cost about $20 and makes this closet look much more finished and substantial and it adds another 1/2" of shelf depth.
Everything got a fresh prime and paint.
I love it when I finally get to finishing a space even a space as over looked as the linen closet.


No comments:
Post a Comment