It all started with a little sketch a full wall of cabinets with two tall open shelving units.
After a lot of hours and days and weeks of plugging away I finally have my completed built-ins.
I think that they turned out even better than I had hoped for.
The corner window and bulkhead proved a little challenging but I think it turned out great.
I took a lot longer than I had thought but when I stand back ad look at it all done, well except for the marble I have yet to get it was all worth all the hard work and long hours and money spent...I figure easily this built-in would cost $3000 plus to have done and I'm not sure what it cost me exactly but let's just say it was a fraction of that cost.
I am so looking forward to getting the floor stained finally. I will first screw down any areas that aren't as flush as they should be, then I will make a mixture of saw dust and glue and fill an gaps before I do the final sanding.
I especially love how these shaker doors turned out and I am so glad I went with the contemporary brass hardware.
Close up of the stained wood backs and trim detail.
I am really excited to see the wine cooler in place full of wine and with the lights a glow....I am really looking forward to having our first dinner in this room...very soon.
See you soon...
Tuesday, December 2, 2014
Sunday, November 30, 2014
Week 6 dining room renovations & built-ins
I wanted to show in photos as many stages of my build that I could so that if you wanted to build something similar you can see how I built my project.
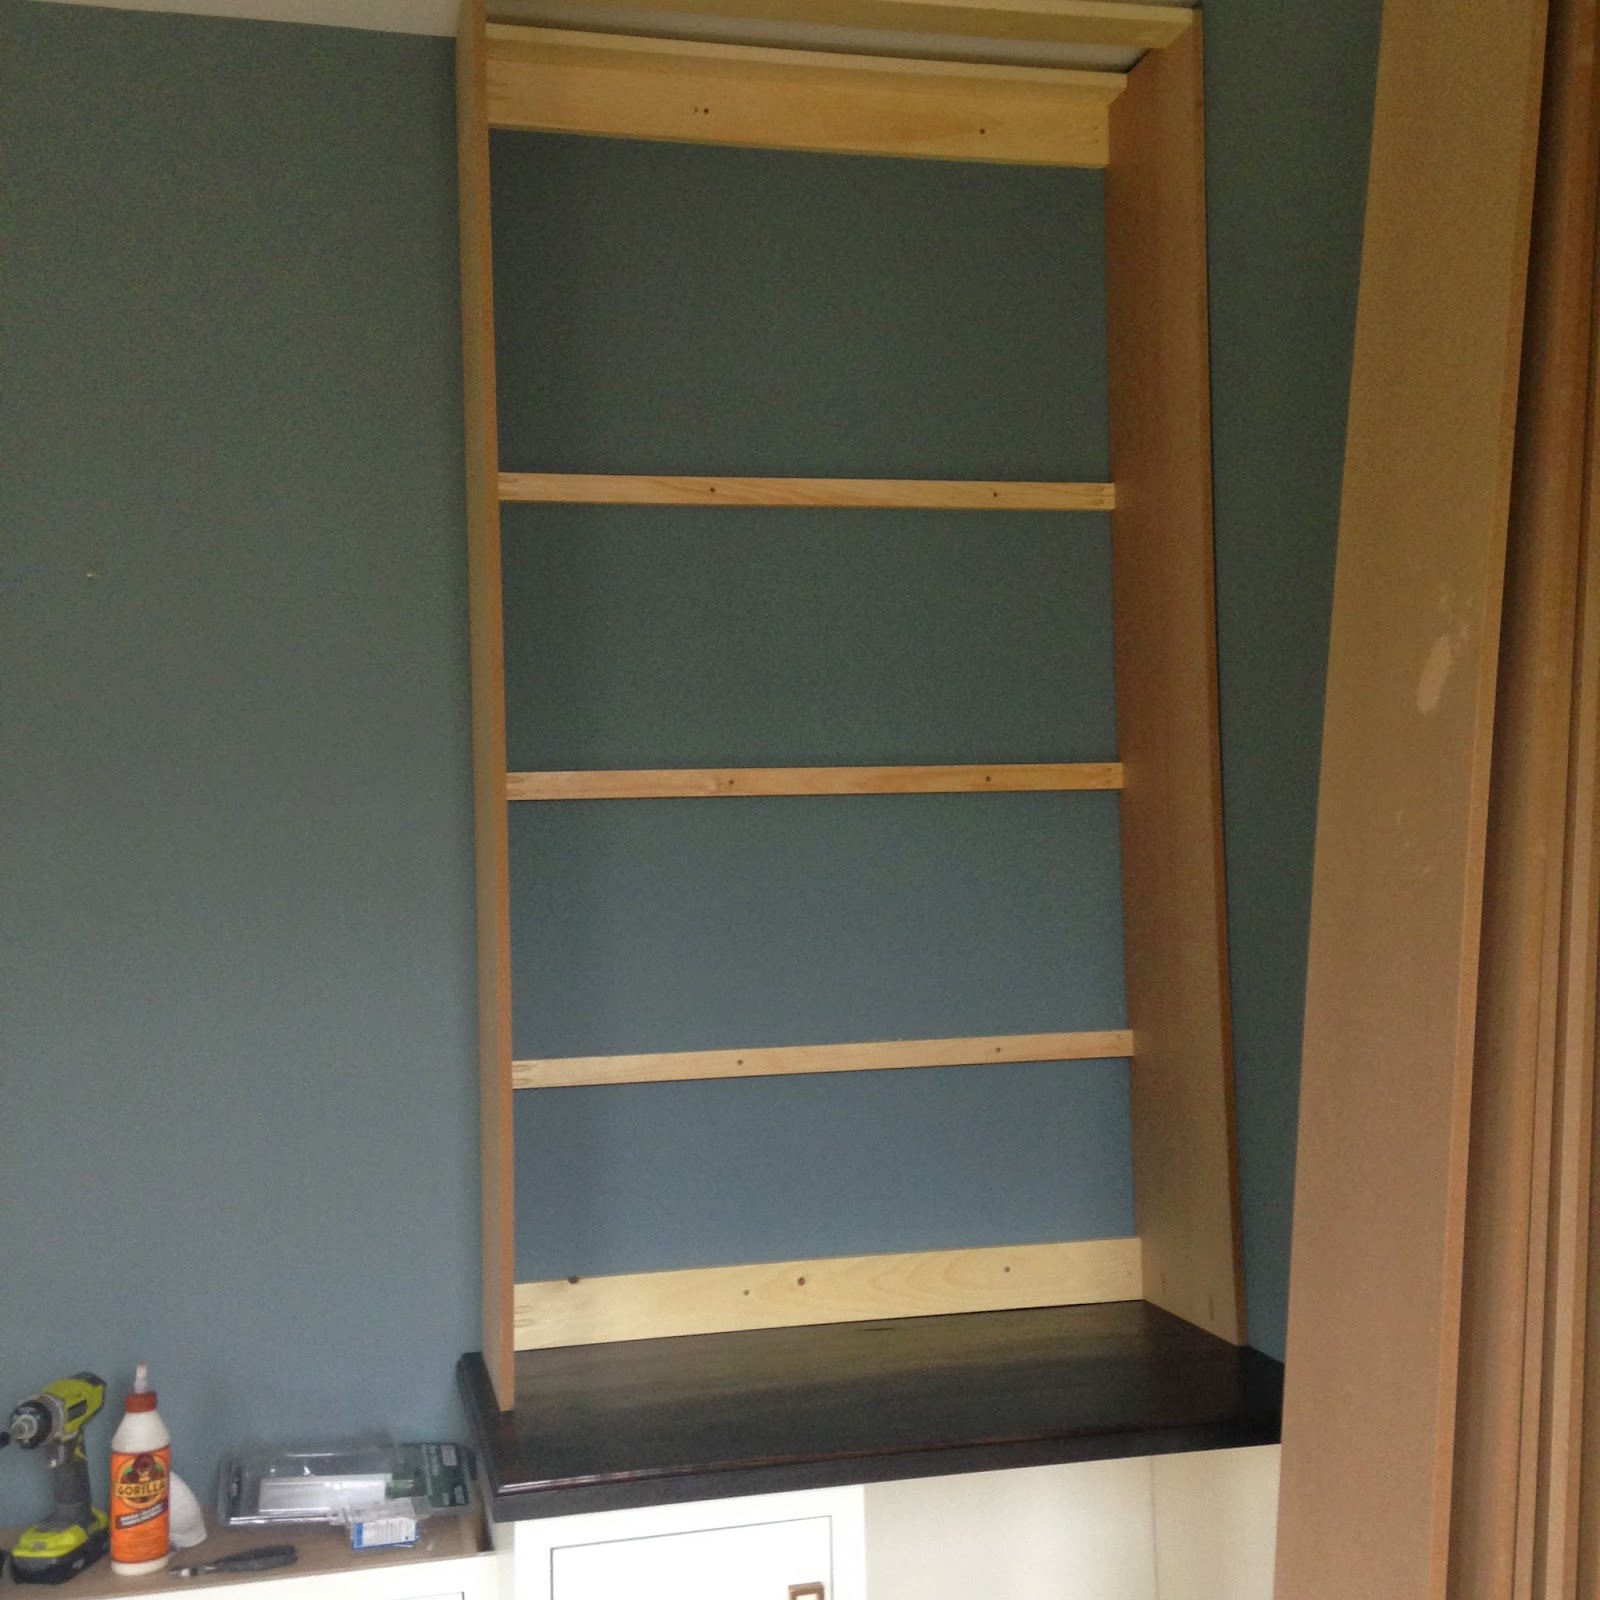
So I added the vertical pieces and then I added braces for the shelves attaching them to the studs and to the side panels with pocket holes.
I decided to make the thicker shelves out of 2 pieces of mdf simply glued together...I just clamped them and let them sit for 20 -30 min and then installed them using clamps to help me place and level
the shelves as I installed them. I screwed through from the outside of the side panels but in hind sight I would just drill pocket holes on the bottom of the shelves and attach them from the inside next time and use plugs to hide those holes.
the
I then filled holes and added more 3/4" supports to the backs of the shelves so that I had something to nail the wood backing to.
I am getting so anxious to get this project completed to get the wine cooler in place a to have this room furnished and ready for fun...
I am even surprised at how long this is all taking but every step seems to require a step then waiting another step then waiting....I just want it completed already because I am ready to get decorating for Christmas...
I am hoping to get all the backing installed today and the face frames completed...hopefully things will go smoothly and I will have the built-ins completed today....then I can get to sanding the floors and a couple of days of snading.
So I added the vertical pieces and then I added braces for the shelves attaching them to the studs and to the side panels with pocket holes.
I decided to make the thicker shelves out of 2 pieces of mdf simply glued together...I just clamped them and let them sit for 20 -30 min and then installed them using clamps to help me place and level
the shelves as I installed them. I screwed through from the outside of the side panels but in hind sight I would just drill pocket holes on the bottom of the shelves and attach them from the inside next time and use plugs to hide those holes.
the

I then filled holes and added more 3/4" supports to the backs of the shelves so that I had something to nail the wood backing to.
I cut 5.5"planks from plywood for backing the shelves.I stained this plywood the same Kona color I love then top coated them with satin clear coat and rubbed them down with a fine steel wool to achieve a nice smooth surface. I used sureplay underlayment because I love the backside the way it looked when stained.
Priming and three coats of paint was much easier with out the face frames...
I cut off 3/4" off of a pices of 12" wide mdf to cover the upper part of the bookcase to hide the bones...
I am getting so anxious to get this project completed to get the wine cooler in place a to have this room furnished and ready for fun...
I am even surprised at how long this is all taking but every step seems to require a step then waiting another step then waiting....I just want it completed already because I am ready to get decorating for Christmas...
I am hoping to get all the backing installed today and the face frames completed...hopefully things will go smoothly and I will have the built-ins completed today....then I can get to sanding the floors and a couple of days of snading.
Labels:
dining room,
DIY built-ins,
DIY carpentry,
kona,
pine flooring
Wednesday, November 26, 2014
Adding upper shelving to built-ins
I decided to keep the uppers shallow as to not block the window..which meant I could use MDF 12"x 8' boards which are under $6.00 each.... I was going to take a break and not install these uppers at this point but I figured why not just get it done now.
I really love having 9' ceilings, these built-ins are so tall.
I used 1x3" pine to create these simple boxes I attached them using Kregjig pocket holes.
Here I am testing out some shelf placement.
As you can see creating these boxes is really simple 4 boards and 2 sides that's it, this will all be hidden. I can use these pieces that lay up against the wall to attach the boxes to studs in the wall.
Today I will work on the shelves which will be thick 2" shelves....I just don't know if they will be painted or stained...I will know when I go shopping for materials.
See you soon.
Subscribe to:
Posts (Atom)